Assigning Instruments
Table of Contents
- Manually Assigning An Instrument
- Assigning Instruments Using A Barcode Scanner
- Using The Manage Assignments & Inspection Toggle
- Sending A Usage Agreement
- Ending An Instrument Assignment
Manually Assigning An Instrument
See Instrument Inventory Import Overview for details on how to import instrument data in our spreadsheet template!
- Navigate to the Instruments page, and search for the instrument you'd like to assign.
- Select the instrument type to get to the instrument details.
- Click "Assign instrument" and select the student, set an optional return due by date, and click "Assign Instrument" to assign.
To assign an instrument to multiple students, you will need to navigate to the Instrument Details page and assign it to each student individually after the initial assignment.
Assigning Instruments Using A Barcode Scanner
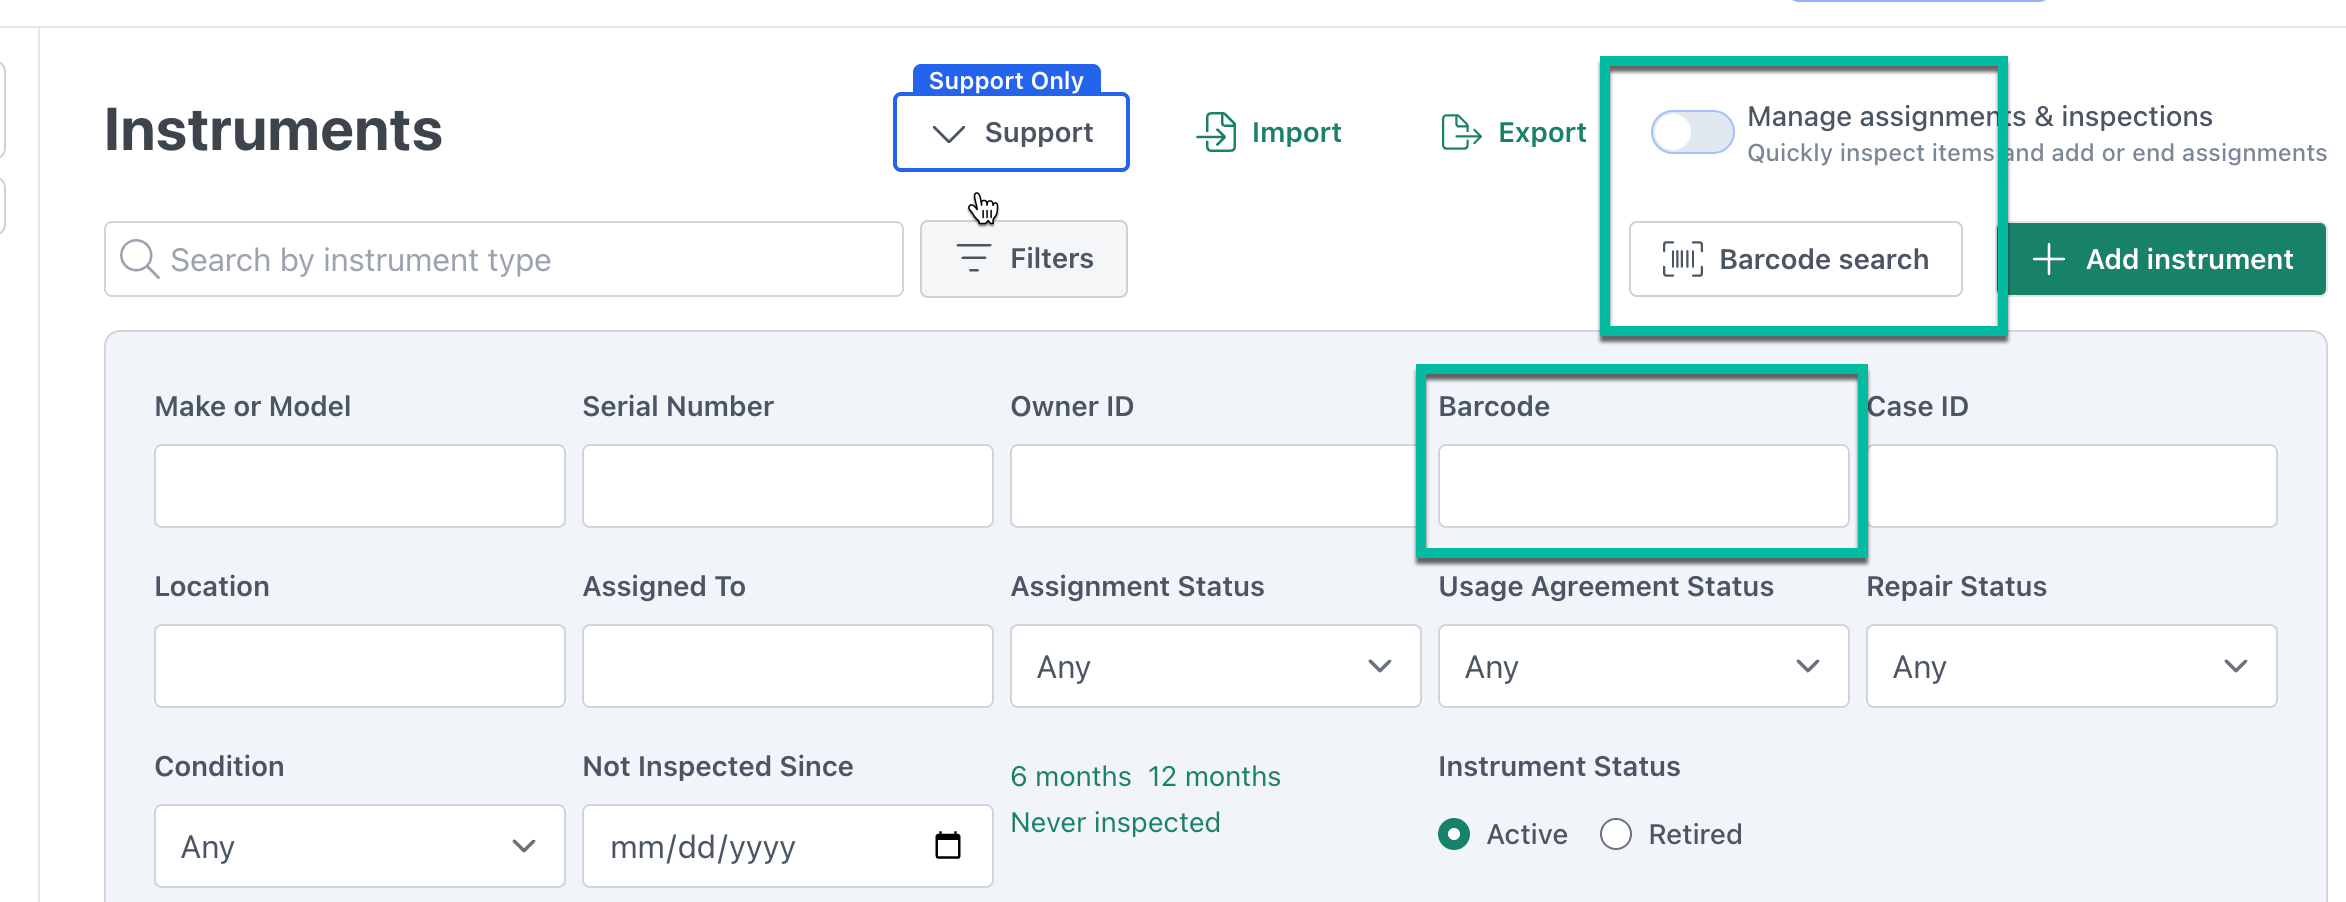
Using The Barcode Search Feature
At the top of the Instruments page, you'll find a "Barcode Search" button that allows you to quickly locate an instrument using its barcode.
- Click the "Barcode Search" button and grant the system access to your device's camera or connect a barcode scanner.
- Once access is granted, simply scan the instrument’s barcode, and the system will automatically open that instrument’s Instrument Details page.
- You can select Assign Instrument and select a member from the drop down list. Enter a return date if needed and save your entry.
CutTime supports both code 128 and 39 barcodes.
Using the Manage Assignments & Inspections Toggle
Use the Manage Assignments & Inspections toggle in the top right corner of the Instruments main page to streamline the student assignment process. You can also use this option to see the "Barcode Check-In" button!

- Once the toggle has been turned on, click “Assign” next to any instrument to select a student from the drop-down list.
- You can also enter a return date if needed—directly from the main Instruments page, without having to open each individual record.
The inventory assignment and the "Return due by" date will show up on the member/guardian dashboard so they can refer to this at any point while it is assigned to them!
Sending a Usage Agreement
Continuing from the section above, after assigning an instrument to a student and selecting the “assign instrument” button, you can select the guardian you would like to send the usage agreement to. If this student does not have a guardian on file, you will have the option to add one.
You can either select the guardian you'd like to send that agreement to and then click "Send Usage Agreement via SMS," or click "cancel" to skip this step. Clicking cancel does not cancel the assignment of that instrument, it only skips the process of sending out the agreement to a guardian.
That guardian will get a notification of that usage agreement request, and a unique link to bring to a signature request page:

The statements that begin with "I understand..." are customizable in your program Settings page when you click the "Edit Instrument Usage Agreement" button.

The assignment history section will show that the agreement is "Unsigned" until the time that guardian electronically signs the agreement through the link that was sent to them. When they sign it, it will immediately update to "Signed by <Guardian name>."
District Level Settings for Usage Agreements
Should you need to write a standard wording for usage agreements across your district, you can go to the District Settings page and find the Instrument Usage Agreements section for more options.

- Enable Usage Agreements for all programs across your district.
- *If you do not see the option to send a usage agreement at your program, you will need to reach out to your district admin in order to have this setting turned on.
- Allow programs to write their own usage agreements.
- Set a standard wording for the usage agreement for the district at every program
- Customize the wording used on that agreement.
Ending an Instrument Assignment
On the Instrument Details page, you can choose to end that assignment by finding the active assignment and clicking "End Assignment."
Additionally, you can end the assignment from the student's Program Membership Details page. On that page, scroll down to the "Instrument assignments" section, and click the "End" button on the right side of the instrument assignment you'd like to end.