Attire Overview
For assistance importing your attire, click here: Attire Import Overview
Table of Contents
Repairs, Inspections, and Locations
Assigning Garments to Students
Navigating your Attire Page
The main Attire page contains an index of all of your garments. Use the search tool at the top of the page to quickly locate items in real time. You can search by garment type, item number, size, assigned or not assign, barcode, etc., making it easy to find exactly what you need.
Each item (as known as a garment) will have a Garment Type column, which refers to the category of attire the particular garment falls under. Other columns will include garment size, gender, manufacturer, color, item number, and barcode number. By clicking on the arrows next to each column title, you can sort the attire accordingly.
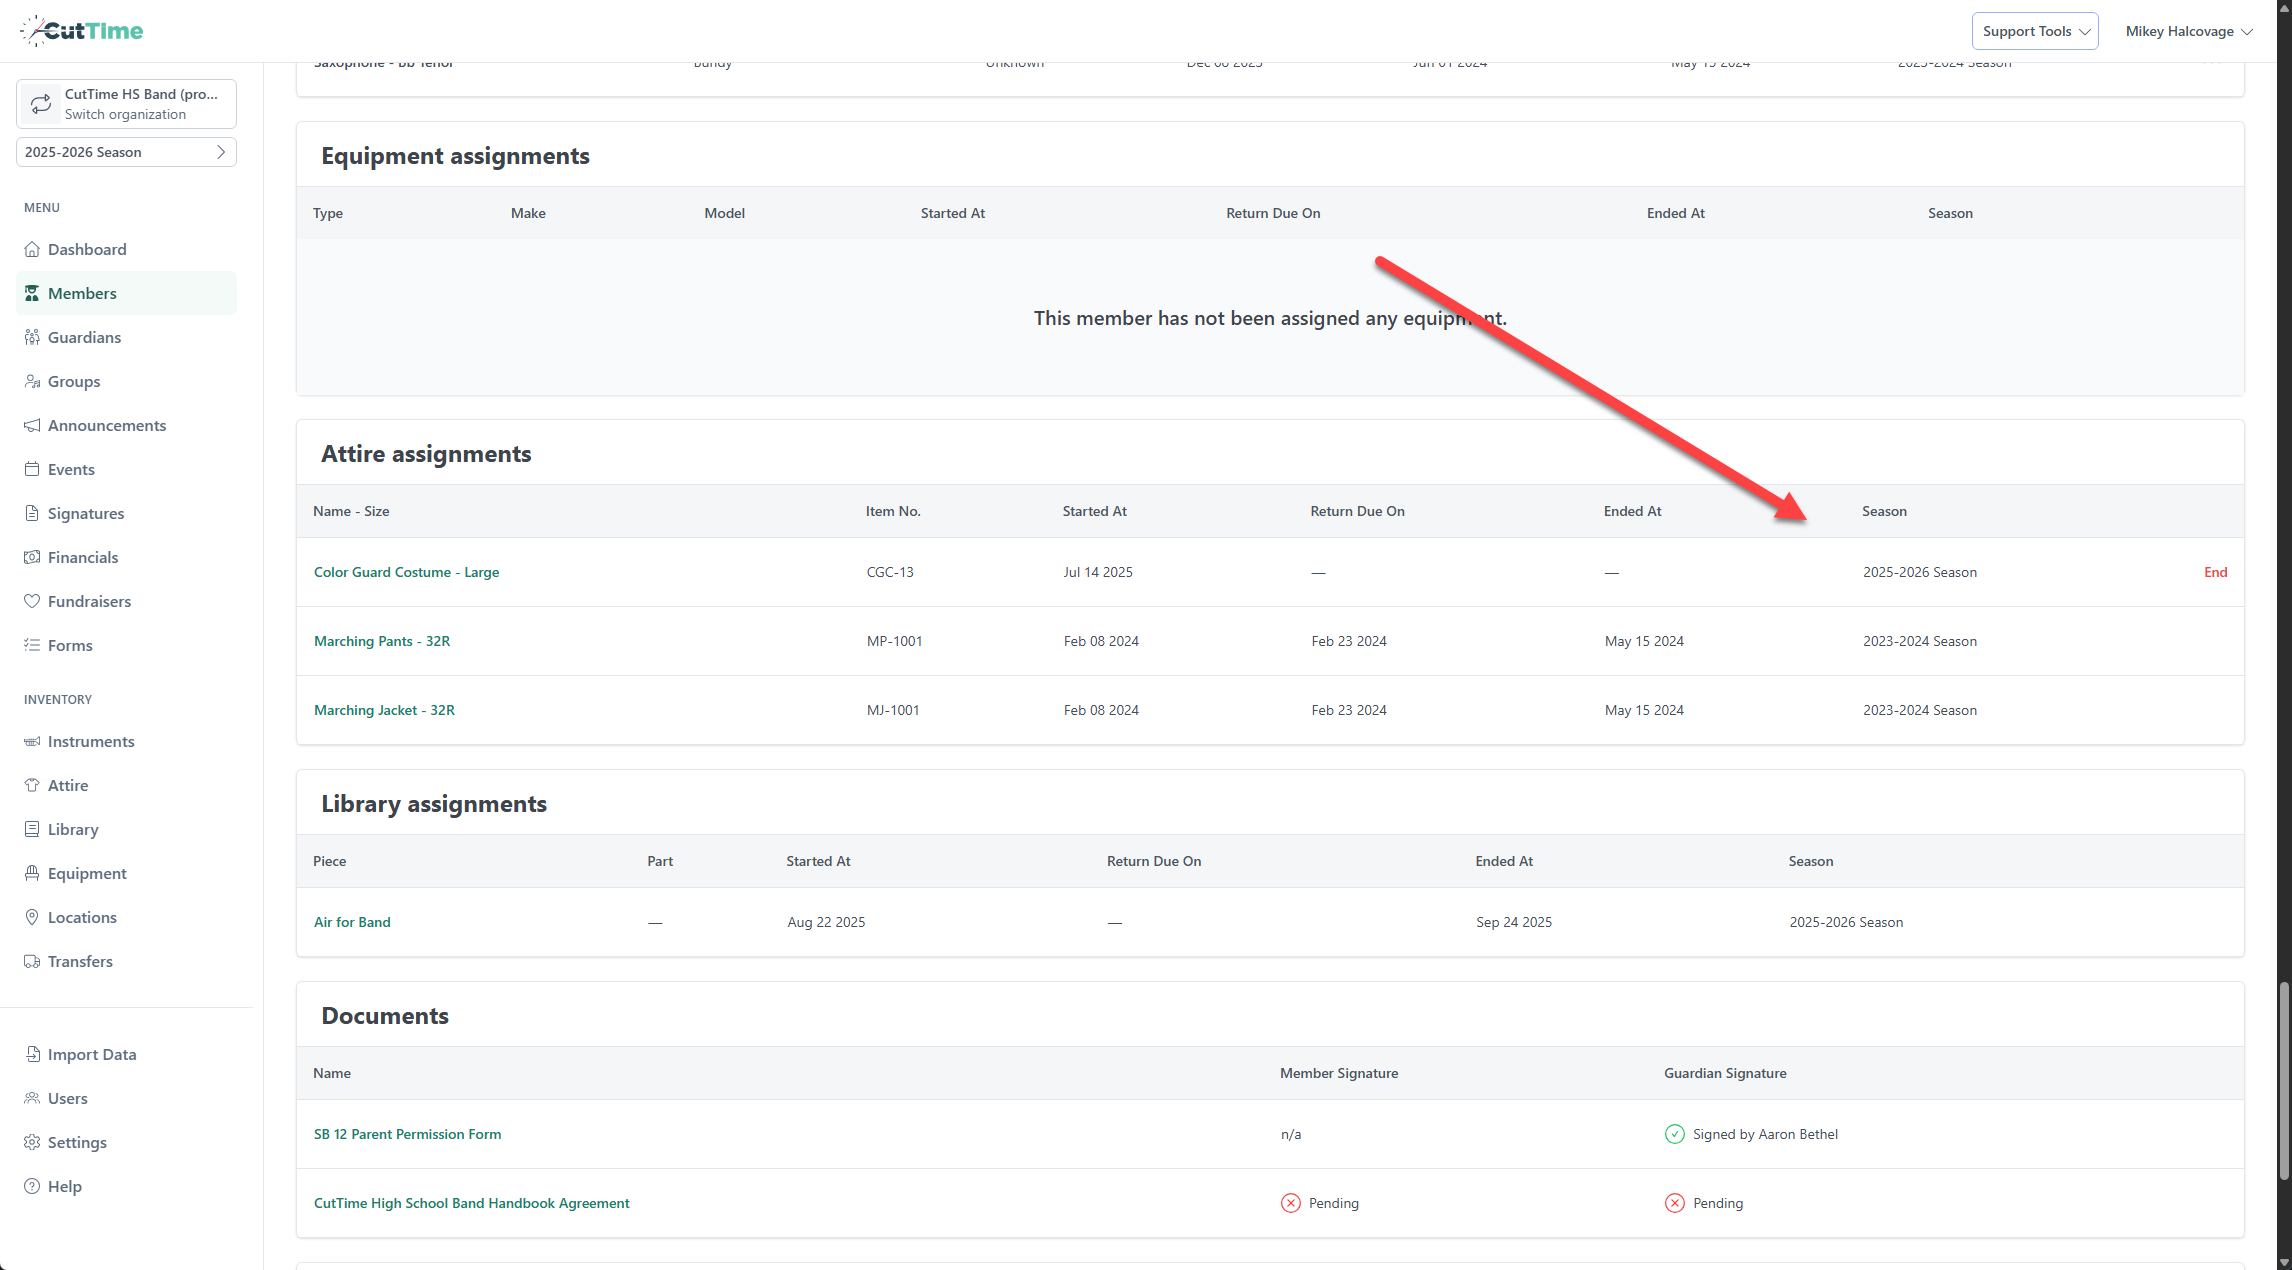
Another column that is included on the Attire page is the Season. This indicates to the director which season the attire item was used last.
To view the attire details of a garment, locate it in the index table and click on its Garment Type.
The Attire Details page displays all essential information related to the garment. From the Edit page, you can update these details and add additional information, such as the Date Last Cleaned, as needed.
Exporting your Attire Data
On your Attire page, there is an option to "Export" (xlsx. format). This export will include the details and student assignments of each garment. Click "Export" to download an excel sheet with your attire data using Select all fields option or just based on fields you select. Next time you click to Export, it will remember your selections from the previous session and display your previous field selections.

Please note: Exporting your attire library will only include current assignment data, not the full history of past assignments. This remains true even if you change the default Season to a previous one—only the assignments that are currently active will be reflected in the export.
Repairs, Inspections, and Locations
Repairs
To add a repair log for a garment, navigate to the Garment Details page of the desired item.
Scroll down to the Repairs section and click the "Add Repair" button. You will be prompted to enter the Vendor, Cost, Details, and the Start Date of the repair. If an End Date is not provided, the repair will be marked as Active. Once the repair is completed, enter the End Date and click "Save" to update the status to Completed in CutTime.
You may also attach up to three documents to each repair log by clicking the "Add Documents" link within the entry.
To update or modify an existing repair, click "Edit" next to the corresponding record.
Inspections
To log an inspection for a garment, navigate to its Garment Details page.
Scroll down to the Inspections section and click the "Add Inspection" button. From there, select the appropriate Condition from the dropdown, enter any additional Comments, and adjust the Inspection Date if it differs from the current date. Click "Add Inspection" to record the garment’s condition.
Please note: while inspection comments can be edited by clicking "Edit" next to the entry, the inspected by, condition, and inspection date fields are locked and cannot be changed once the inspection has been logged.
Locations
On the Garment Details page of the garment you'd like to add or update the location, scroll down to the Locations section and click the "Add new Location" or the "Update Location" button.
You can select a new location for this garment from the options in the dropdown menu. See our Storage Locations help document for more information on managing those locations!
Adding and Deleting Garments
The fastest way to add garments to your Attire page is by using the importer. A full walkthrough for this can be found here: Attire Import Overview.
Add Garments
To add garments individually, click "Add Attire" from the top of your Attire page. From here, fill in all of the necessary information for your Garment, following the formatting guidelines on the page.
Delete Garments
To delete a particular garment, you can click the red "Delete" button on the far right side of a garment's row.
Assigning Garments to Students
Garments can be assigned to students using two methods:
- Manually assigning attire items to individual students.
- Using a barcode scanner.
Managing Attire Assignments Manually
Assigning Attire Items Manually via the Members Page
- Locate the student on the Members page and click “Assign Attire” to the far right of the student name.
- On the "Assign Attire" page, use the search fields to find attire items by type, item number, size, or barcode.
-
Once you have identified the desired item, click “Add to Queue” on the right. The item will appear in the Assignment Queue below the student’s name.

- To assign multiple items at one time, add all relevant pieces to the queue before finalizing your selections.
- Enter a return date if applicable, then click “Assign Garments.”
- A confirmation message will appear in the top-right corner indicating the number of attire items successfully assigned to the student.

Processing Manual Attire Returns
- Navigate to the Members page and click on the name of the student whose assignment you wish to end.
- Scroll to the Attire Assignments section to view all garments currently assigned to the student.
- Click “End” next to the appropriate item to conclude the assignment.
-
- The assignment will be marked as ended, and it's history will remain visible in the same section for reference.

Using the Manage Assignments Toggle
The “Manage Assignments” toggle provides a streamlined way to manually add or remove student attire assignments, facilitating efficient garment check-ins and check-outs.
To assign garments using this feature:
- Go to the Attire page in the CutTime menu.
-
Activate the “Manage Assignments” toggle.

- Search for the garment by type, size, or other criteria using the search bar at the top.
- Click “Assign” next to the appropriate garment.
-
Choose the student’s name from the dropdown list.

- If needed, enter a return date.
- Confirm by clicking “Assign.”


To end an assignment, follow these steps:
- Navigate to the Attire page in the CutTime menu.
- Ensure the “Manage Assignments” toggle is turned on.
- Use the search field to locate the garment by type, size, or the student’s name to whom the item is assigned.
- Once you locate the attire item, click “End Assignment” on the far right.
Managing Attire Assignments with Barcode/QR Code Scanning
How to Assign Attire Items to Students Using a Barcode Scanner:
You may also use a smartphone or laptop camera to scan attire barcodes, assigning them to students.
- Navigate to the Members page and locate the student. Click “Assign Attire.”
- On the Assign Attire page, click “Scan Barcode” in the top-right corner.
- When prompted, grant CutTime permission to access your device’s camera.
-
Hold the garment’s barcode up to the camera. Upon a successful scan, a confirmation message will appear:
“Added Barcode ####### to the queue.”

- Repeat this process for each garment you wish to assign to the student.
- Enter a return date if applicable.
- Click “Assign Garments” to complete the process.
- A confirmation message will appear in the top-right corner indicating the number of attire items successfully assigned.

Ending Attire Assignments Using a Barcode Scanner
- Go to the Attire page and ensure the "Manage Assignments" toggle is enabled.
- Select “Barcode Check-In.”
- Use your barcode scanner or device camera to scan the item’s barcode.
- Once scanned, the assignment will automatically be ended and recorded in the system.