Custom Forms
Table of Contents
Add/Create a New Form
Responding to a Form as a Member/Guardian
What is a Form?
Should you need to collect other pieces of data from your members/guardians that are not already included on their profiles, you can create a Custom Form. This can be for whatever you need such as information pertaining to an upcoming trip, or t-shirt size. Utilize this feature in lieu of having them fill out a PDF or hand written document, that way you can pull an extract with the results of each form to pass onto the appropriate parties.
Note: There is no need to include name, email, or phone number fields in your questions, as this information is already part of your Member and Guardian rosters. Each response is automatically mapped back to the member or guardian who received the form.
Add/Create a New Form
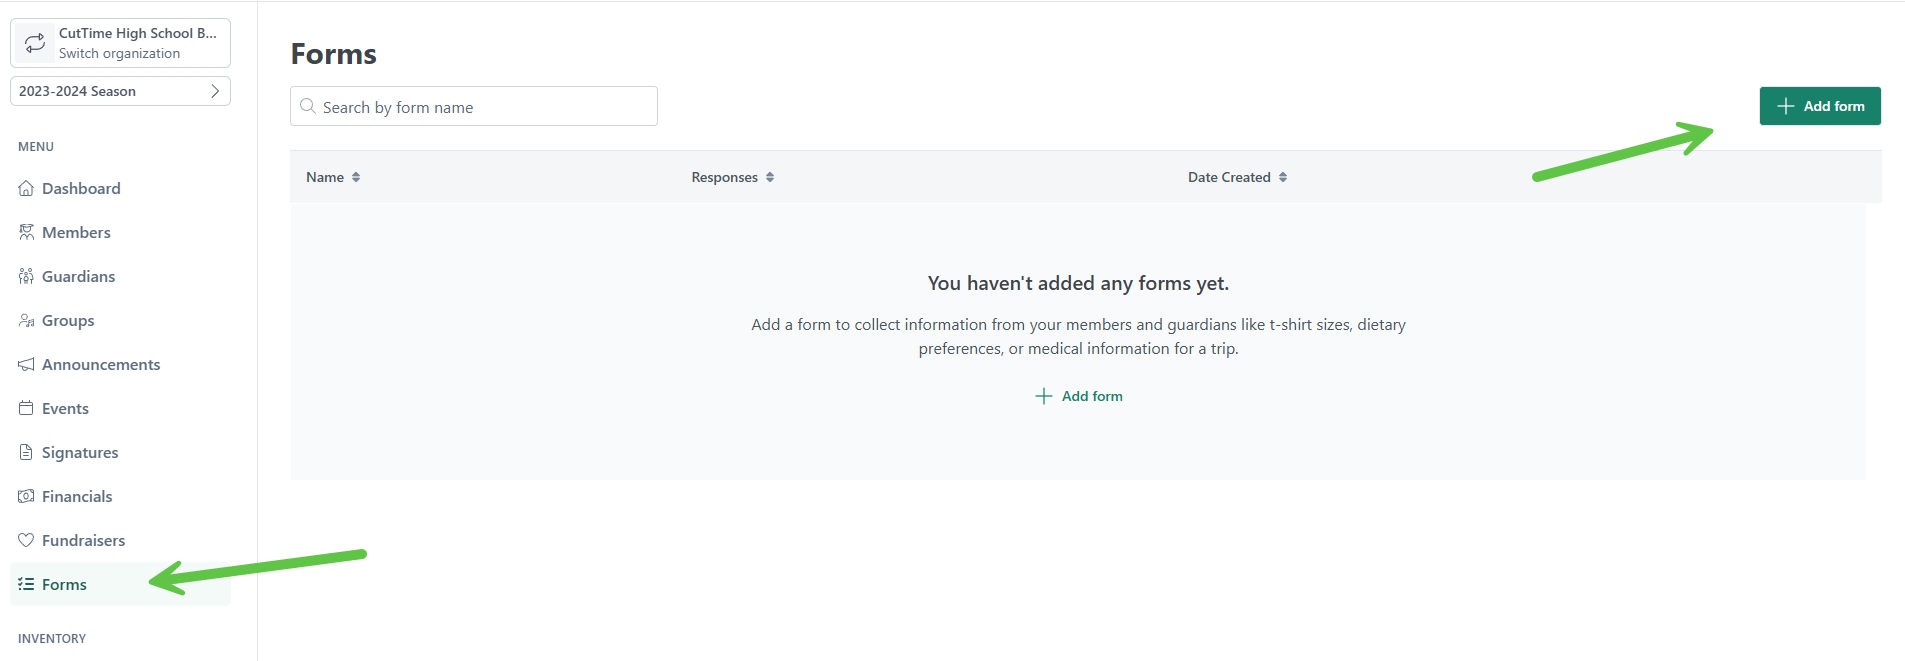
On the left side navigation panel, click on the Forms Page. You will see a button to "Add Form".
You may add as many questions as needed, using short answer, paragraph, multiple choice, checkboxes, or file upload formats.
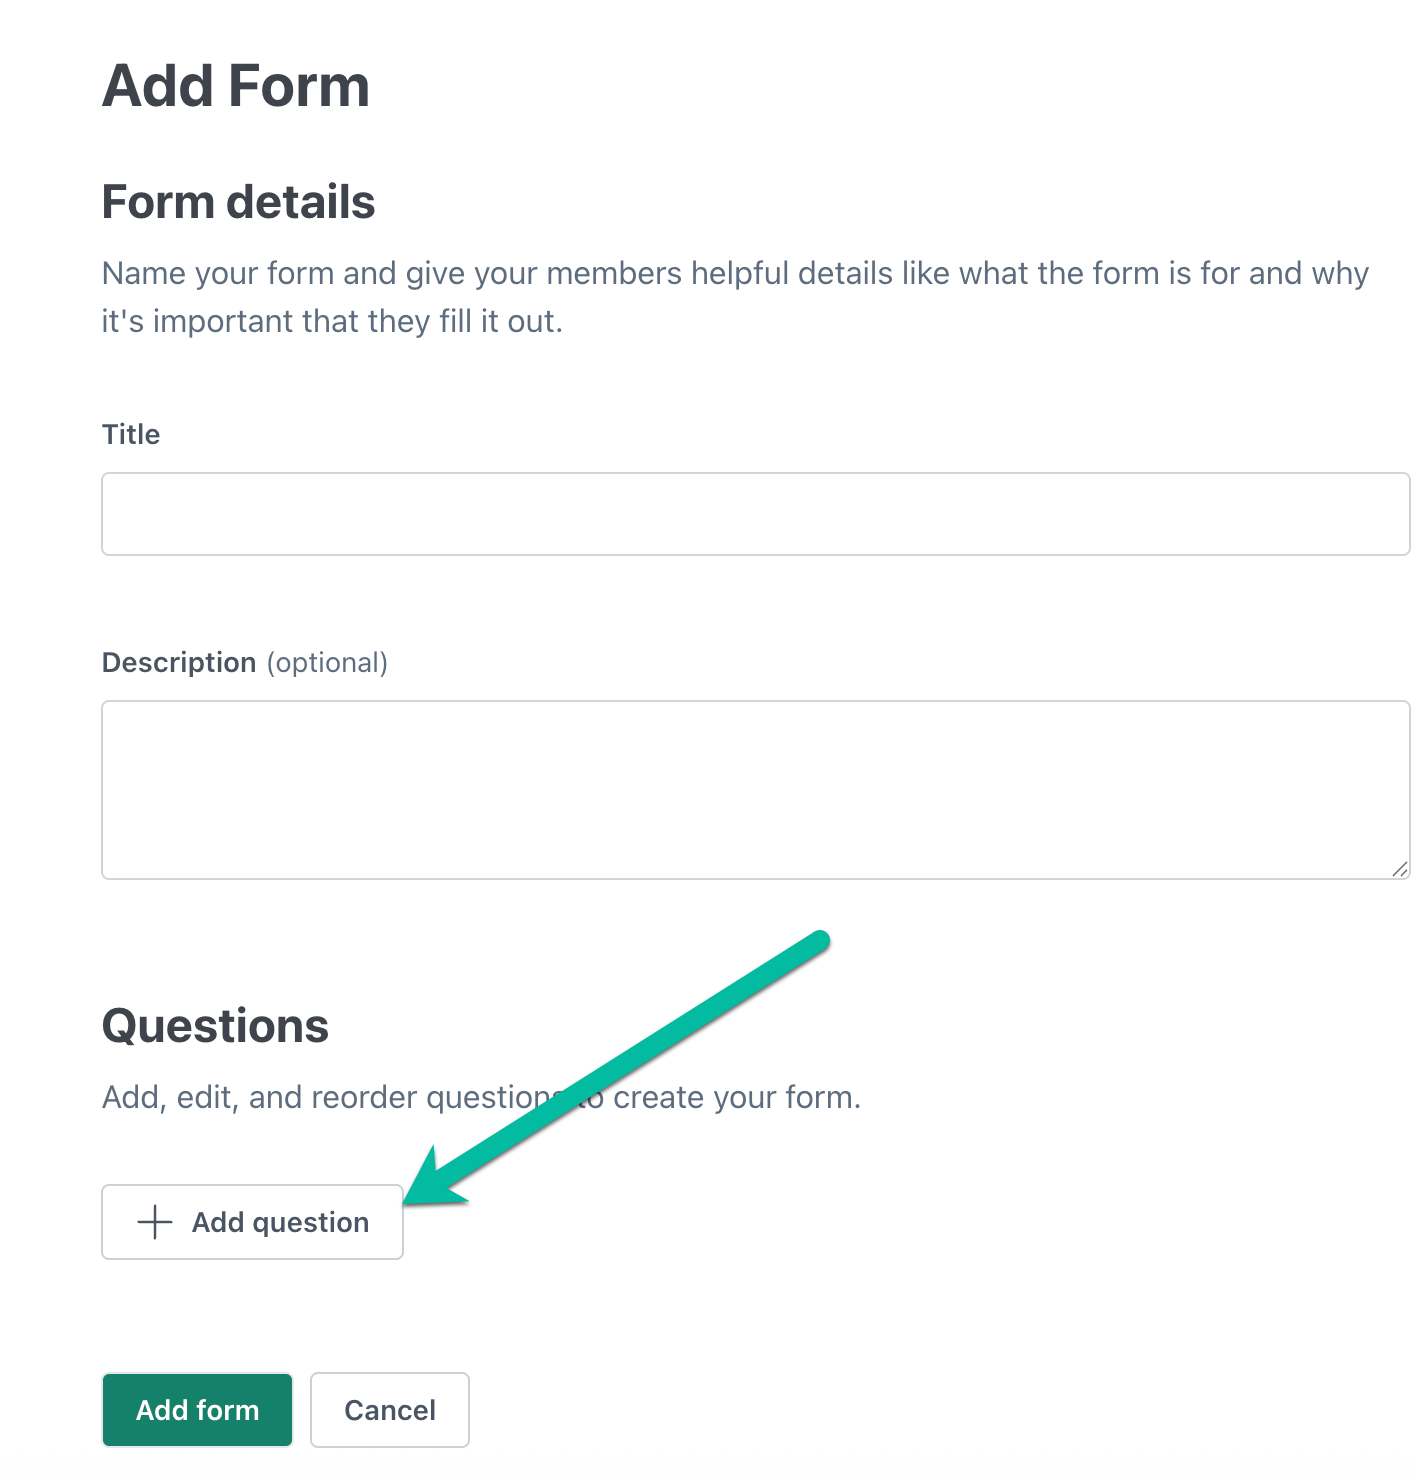
- Add the Form title and description.
-
Click "Add Question" to add the first question in your survey.
-
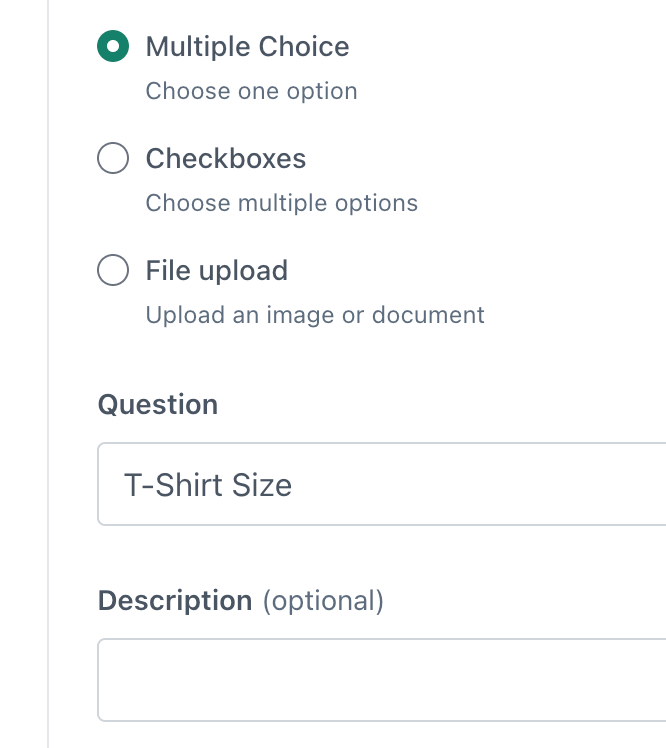
Choose the question type.

-
Add the question and an optional description.
- If the question needs to have an answer listed, add the Answer Options.
-
Choose to make required or not.
(Should you need to delete an answer you created, you can click on the "X" next to that answer).
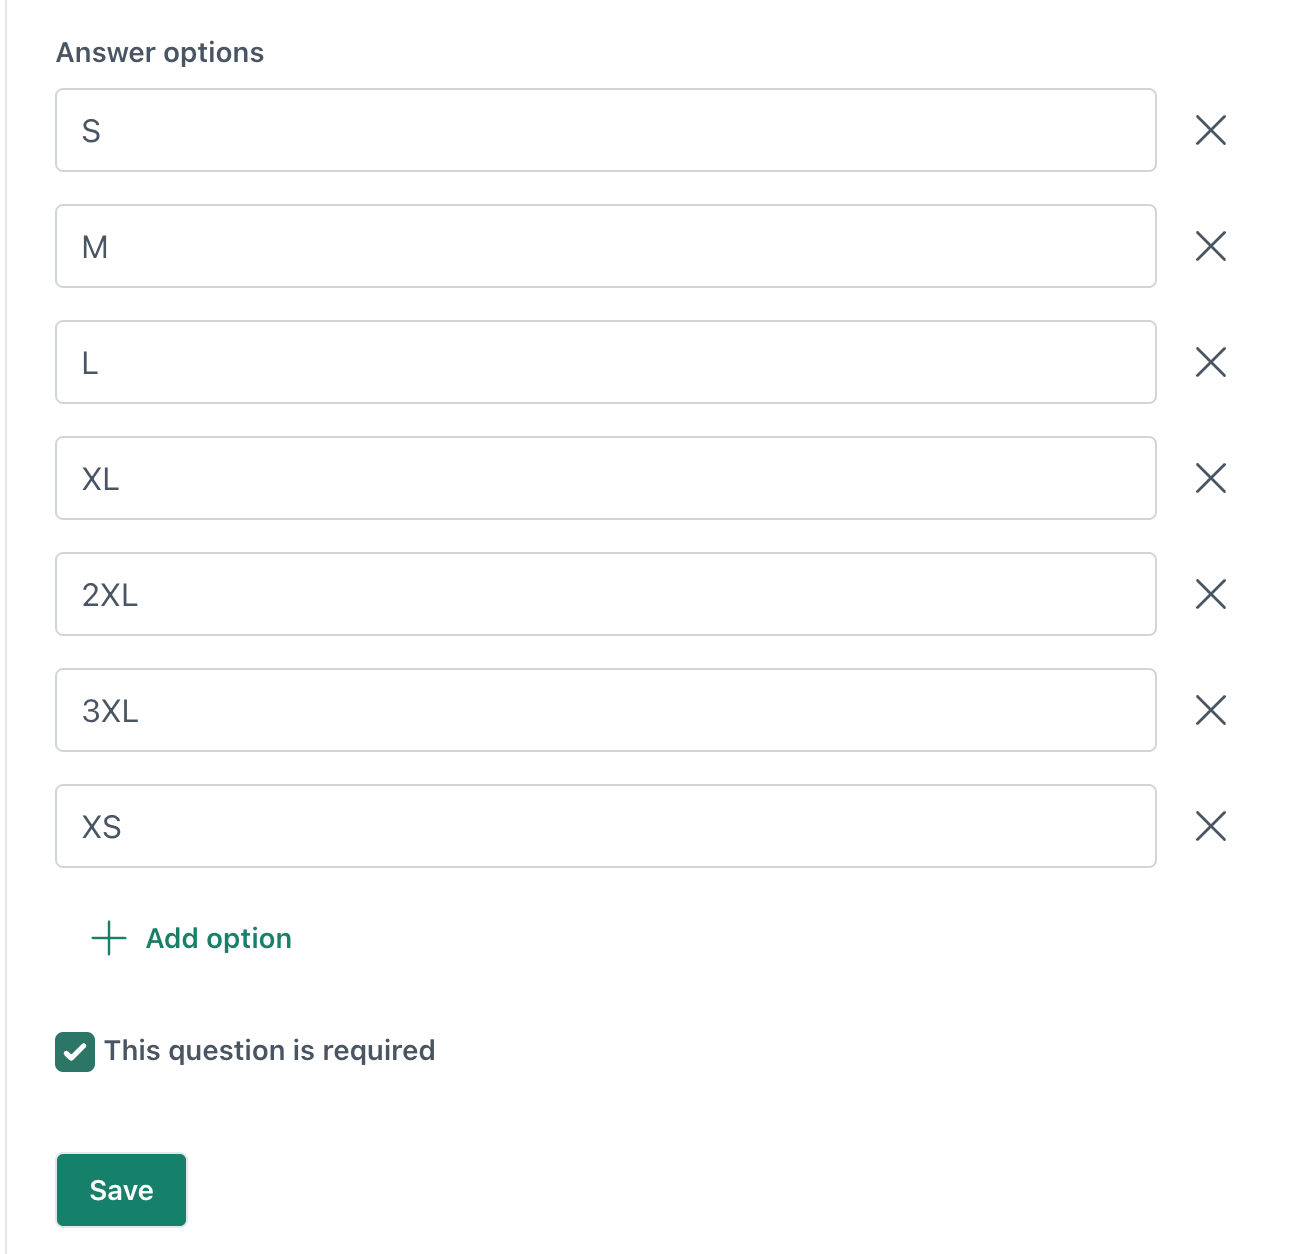
- Save that question.
-
Repeat this process until you have added all of your needed questions.
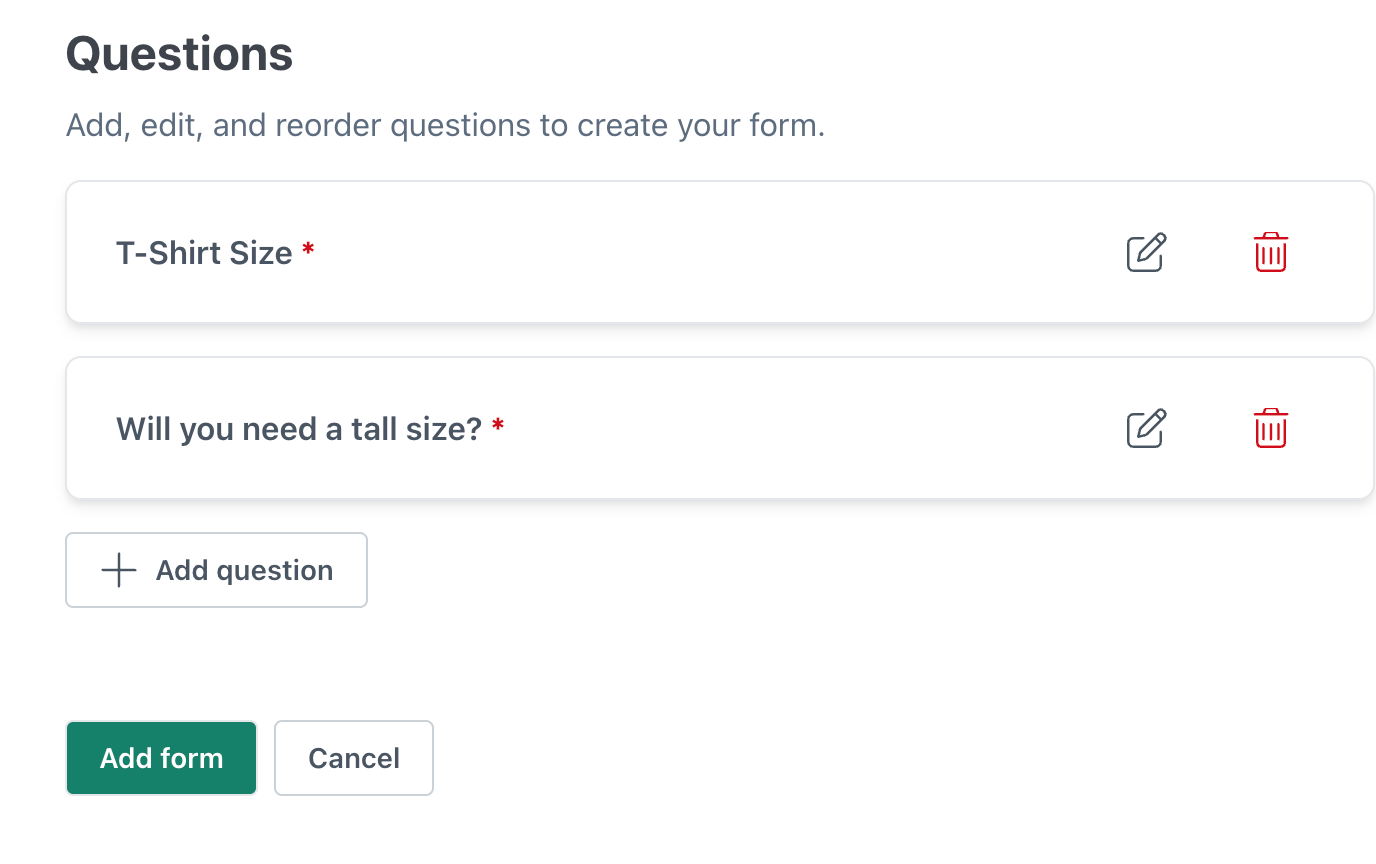
If you need to Edit or Delete a question you have added, you can do so before completing this form setup by clicking either the pencil or trash icons.


Please ensure your files meet the following requirements before uploading:
- Size: 10 MB Max
- Images: jpg, jpeg, png, heic, heif
- Documents: doc, docx, pdf
-
Audio/video: mp3, mp4, m4a, m4v, mov, wav
To control the order of the questions, add them in the sequence you would like them to appear. While the platform does not currently allow dragging and rearranging questions after they are added, the questions will display in the order they were entered.
-
- Click "Add Form" to save create/add your form.

Inviting Recipients
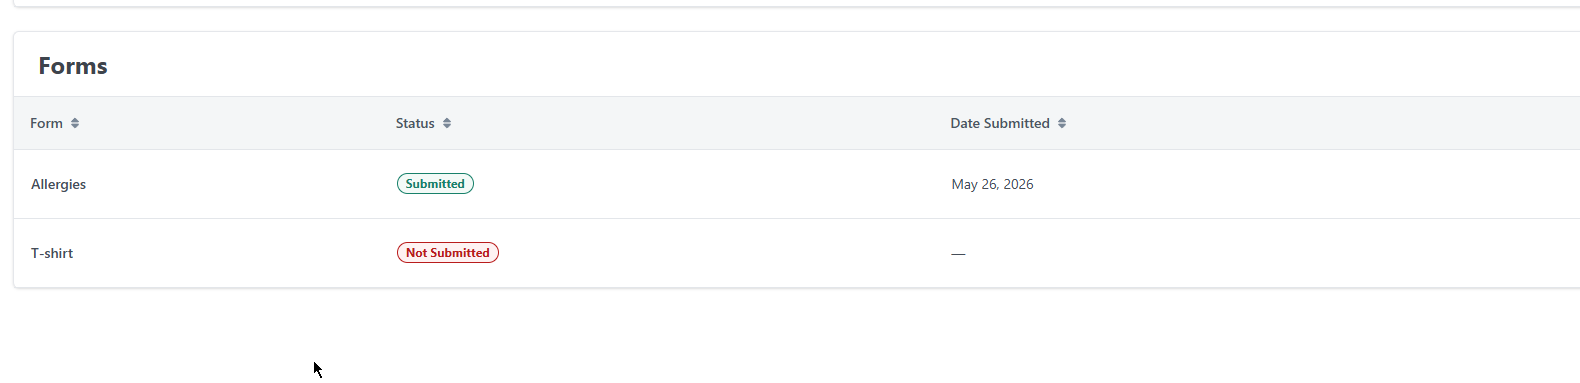
In order for the Form be part of the Membership Detail Page, you must select Members when adding Recipients, even though the form may be answered by the guardian.
This is how it looks at the Membership Details Page:
Once you have completed the steps to setup your Form you can begin assigning recipients and requesting that they fill this out.
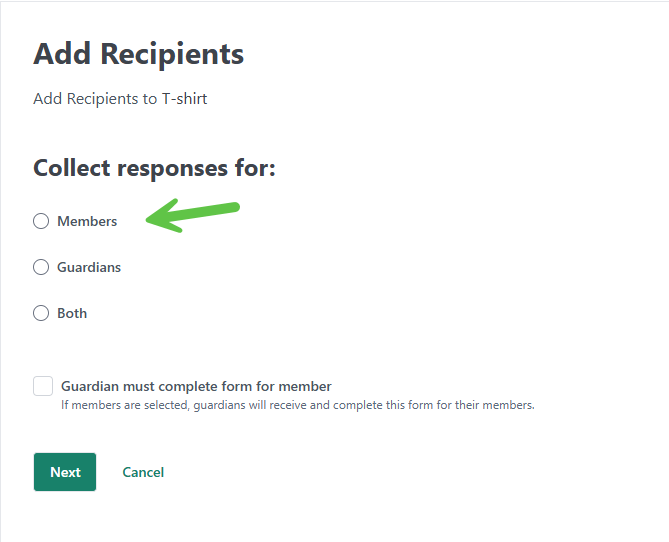
Click the "Add Recipients" button to choose through your list of members and guardians.

Select members, guardians, or both. If this is a form that should only be answered by a guardian or by a guardian on behalf of a member, check that box. Then click next.


Select all program members or select from a list.
If you choose to select from a list, you will see the list of active members, where you can filter for a name, Group, (or Grade Level for students/members). Select them by using the checkboxes.

Click next and review your list of recipients. If anyone needs to be taken off the list of recipients, click the "remove" button. Then click "Send Form".

Managing Forms
Once you’ve sent out your forms, the page will automatically refresh to the form’s Details page. At the top, you’ll see an overview that includes the total number of questions, the form’s creation date, and the overall response rate percentage.
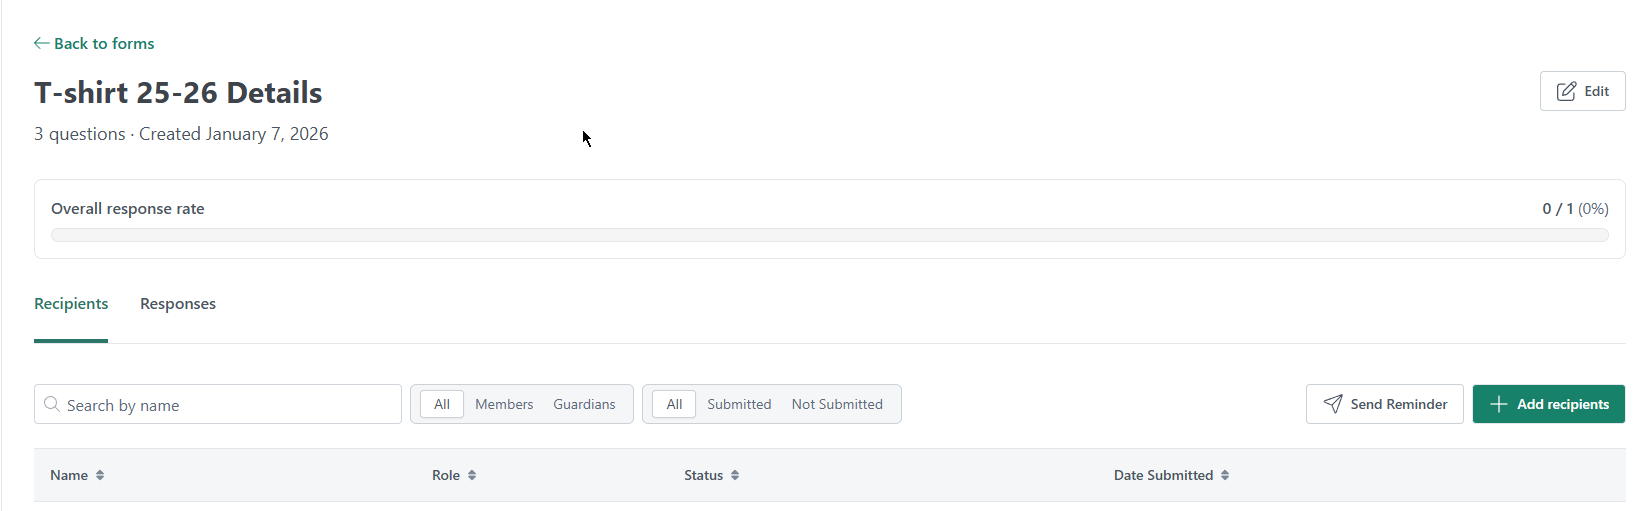
There will be two tabs displayed; Recipients, and Responses.
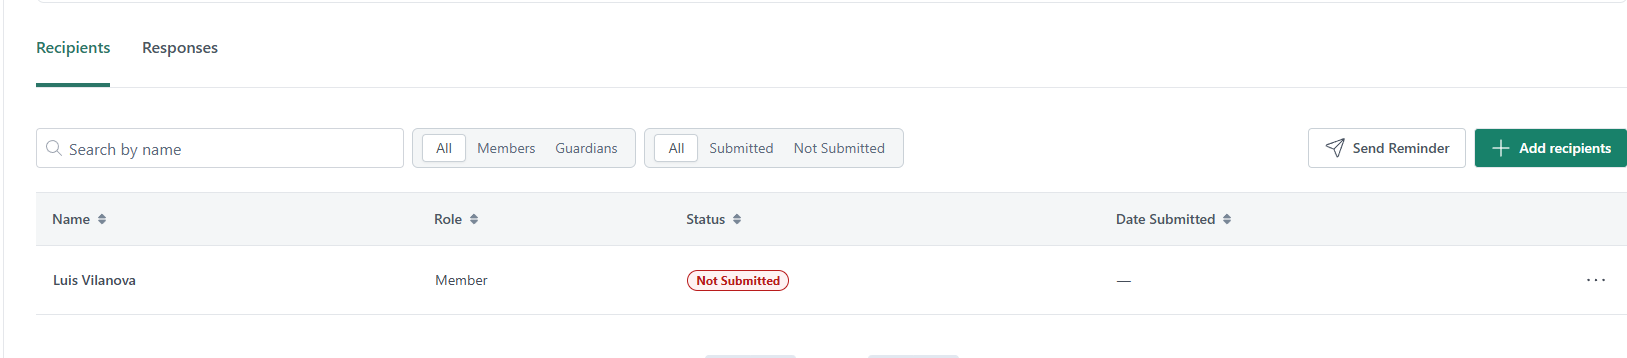
Recipients
The Recipients tab provides a clear view of each individual’s current status, along with the date their responses were submitted. You can sort any column to organize the information.
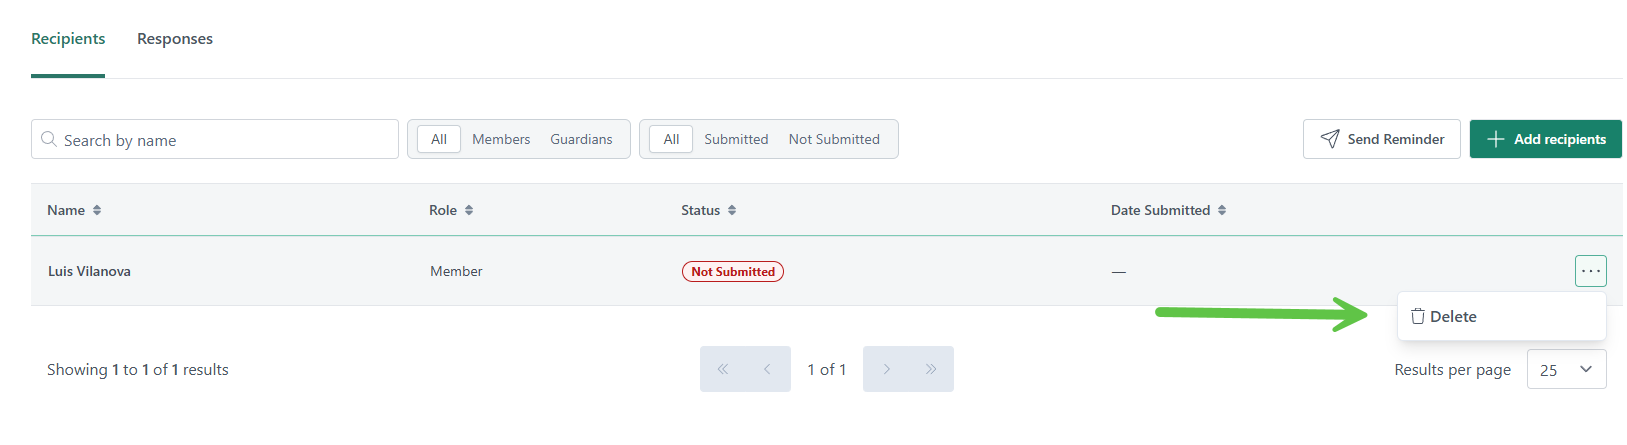
Add, Remind, or Delete Form Recipients
If you need to add new recipients or send a reminder to those who have not yet completed the form, you can do so directly from this tab.
Should you need to remove someone from this list that was added by mistake, click the 3 dots to the right of their name for more options, then "Delete".
Responses
The Responses tab will show you more details on per recipient. You can use the filter search by at the top to find a name or a specific response. If they have uploaded a file, you can click through on that file to view it.
You can also export this information into a xlsx file if you need a physical copy. Choose from the information available what you would like to include on your extract.


You can go back at any point to check on status of your forms from the Forms page.

Responding to a Form as a Member/Guardian
If you receive a notification from CutTime that says your program administrator is requesting you to fill out a form, you can click through on the link to begin answering those questions.

Any description added by your program's administrator will be included on the Start page for this form.

Answer the questions and submit your form.

Some questions might be required, so you will need to add your answer to proceed to the next question and submit by clicking "Finish".
Once you're finished filling out the form, you will see a confirmation message where you can then proceed to your magic link dashboard.

If you need to sign another form, you can find it on your main Magic Link dashboard under the Student Calendar page.
