Self-Registration for Members & Guardians
As a User in CutTime, you will have two options for adding your members and guardians to your program; Members/Guardians can self-register for CutTime or a profile can be created for them by a program administrator.
If you are a student or guardian and do not yet have a CutTime profile, you will need to contact your teacher or program’s administrative team for assistance.
Table of Contents
Start a Self-Registration Session
Signing Up as a Member or Guardian
Approving or Rejecting Signups
If you would like to opt to let your members and guardians self-register for your program, you can start a 24 Self-Registration Session from your Members page, and share the link or QR code with your program.
Start a Self-Registration Session
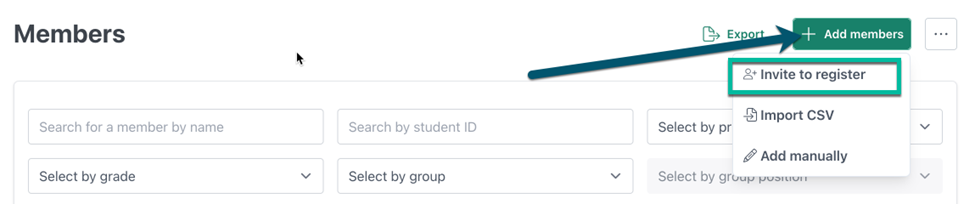
- Go to the Members page and click the "Add Members" button
- Click the "Invite to Register" option to be taken to the Self-Registration session option
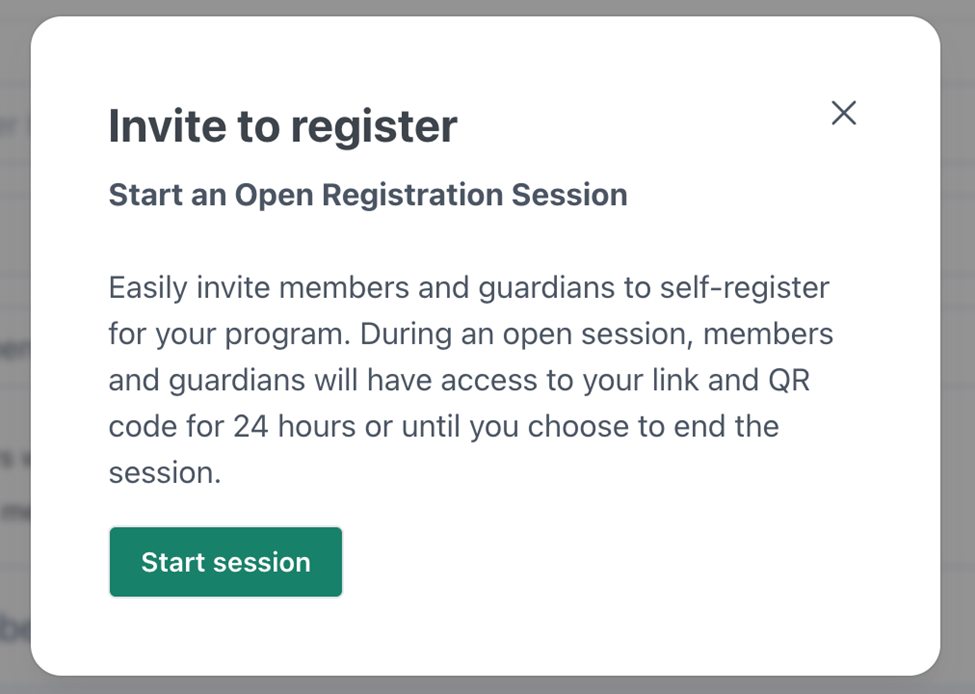
- Start your session and you will see a message stating how long your Self-Registration session has left.

- Click the "Copy Link" or the "Download QR Code" to get the code needed to share with your members and guardians.
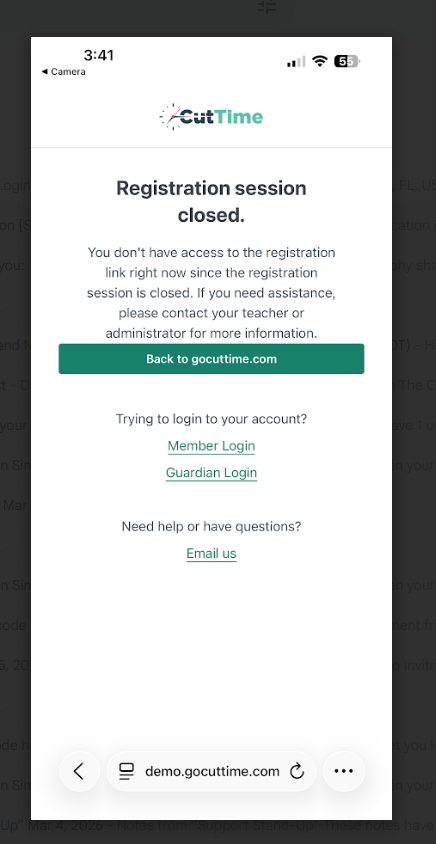
The QR code is only active for a 24 hour period. Once this time is up and if you need extra self-registration time, you need to create a new 24 hour period. For your convenience, the QR code and the link remain the same as the original one.
This is the message you get when the 24 hour period has expired:
- Explain to your members that they can use the link or scan the QR code to fill out a self-registration form. Once they fill out their student information, they can then add any guardians that need to be listed on their profile.
Signing Up as a Member or Guardian
If you are a guardian, you will need to have your member/student register first, and then use the "add guardian" option.
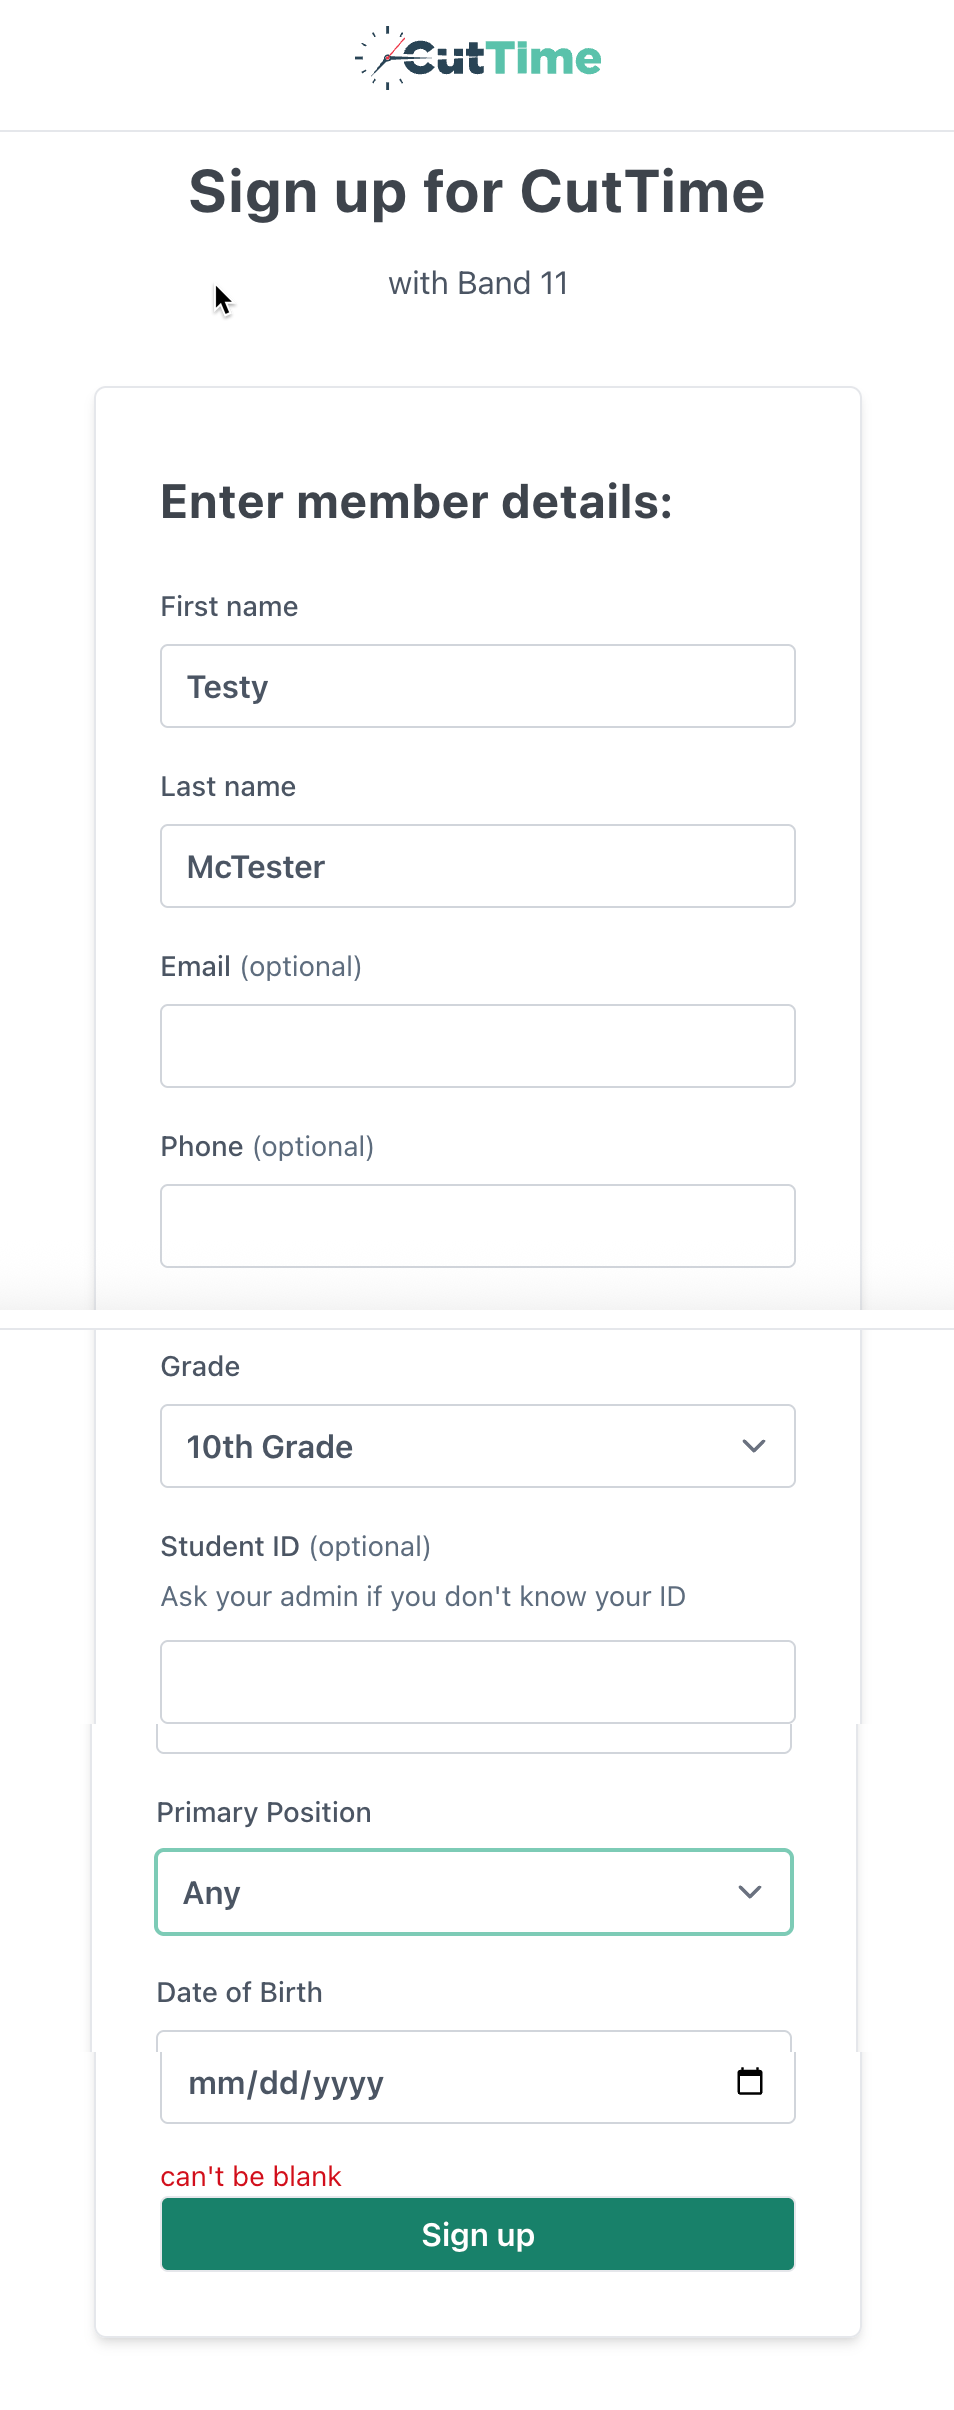
- When a member uses the link or QR code, they will need to enter the following information to signup:
- First Name
- Last Name
- Email (optional)
- Phone (optional)
- Grade Level
- Student ID# (optional)
- Primary Position (they can choose the option "Any" if they don't know what to list)
-
Date of Birth
- They will get this message stating that their request is pending.

-

This means that they have not been setup as a profile yet, as this registration will need to be approved by the program administrator on the account. Once they have been approved and added, the program administrator will send them a welcome message.

- From there they can add a Guardian's info and select the relationship to sign them up as well.
-
PLEASE NOTE that each guardian will need to have at least one point of contact listed - either an email or a phone number listed - to be added as a guardian.
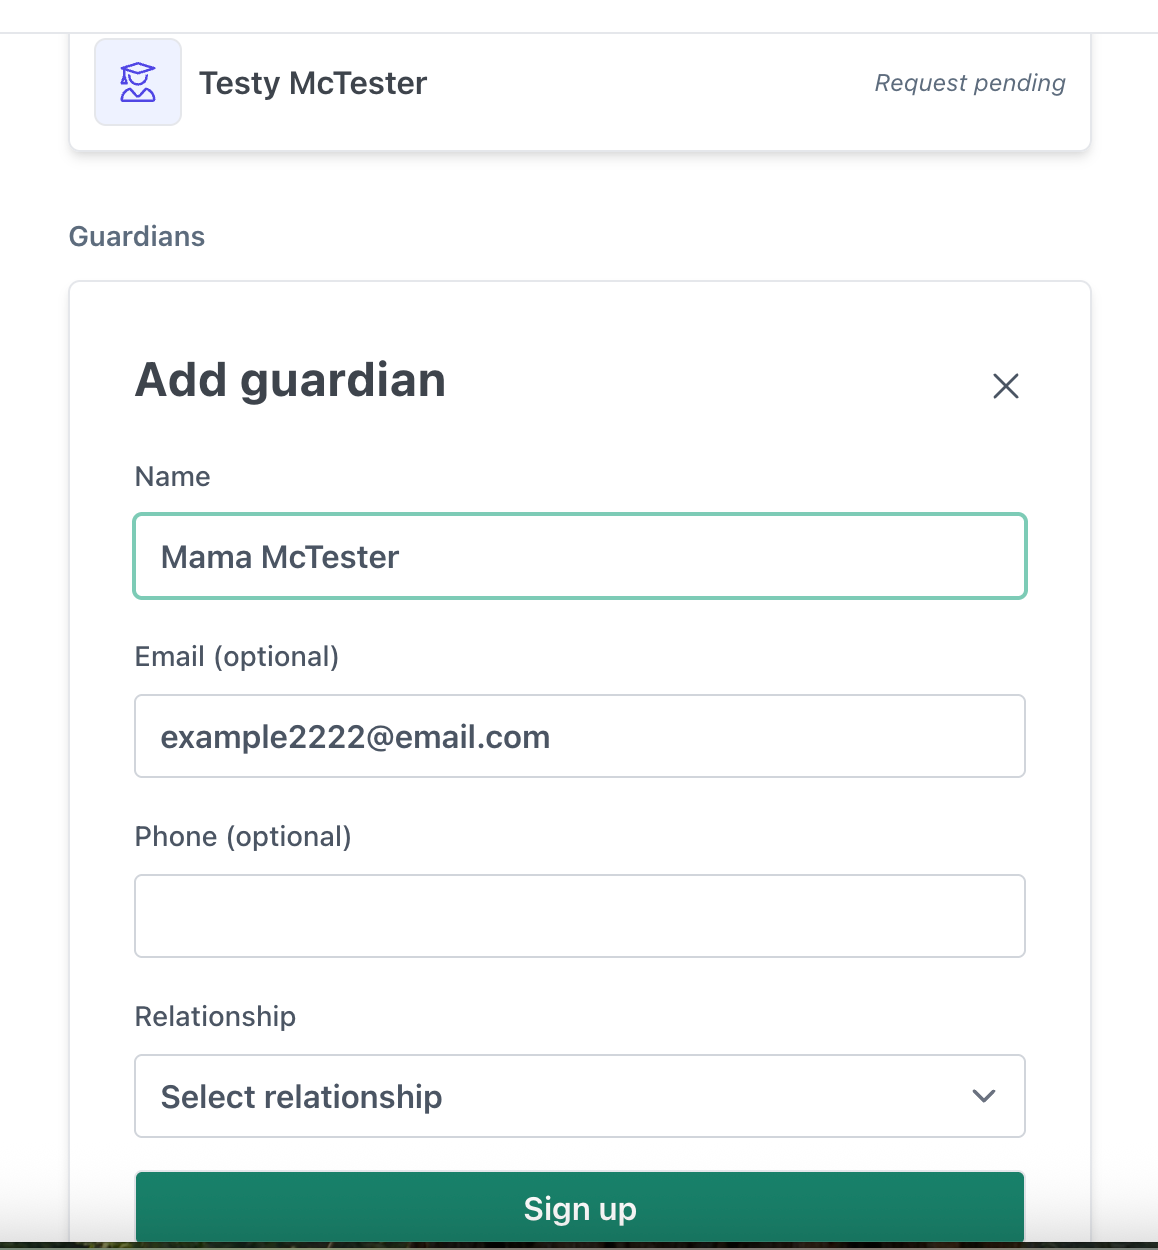
-
- They can repeat this process for any additional guardians needed.

Approving & Rejecting Registrations
-
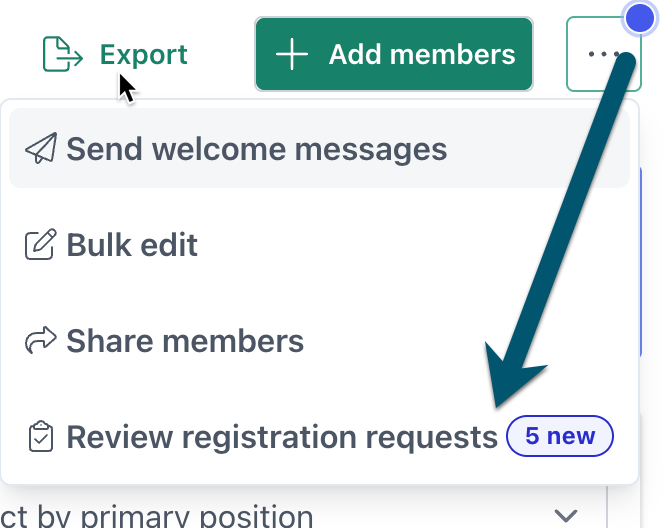
Go to your Members page and either click on the 3 dots for more options including "Review registration requests".
- Choose the Season to add these registrants to.
- If you need to add them to a new Season, you can go to the Seasons page and add a new Season.
-
Review the signups and click through on the member rows to see more details. (You can also accept all or reject all.)

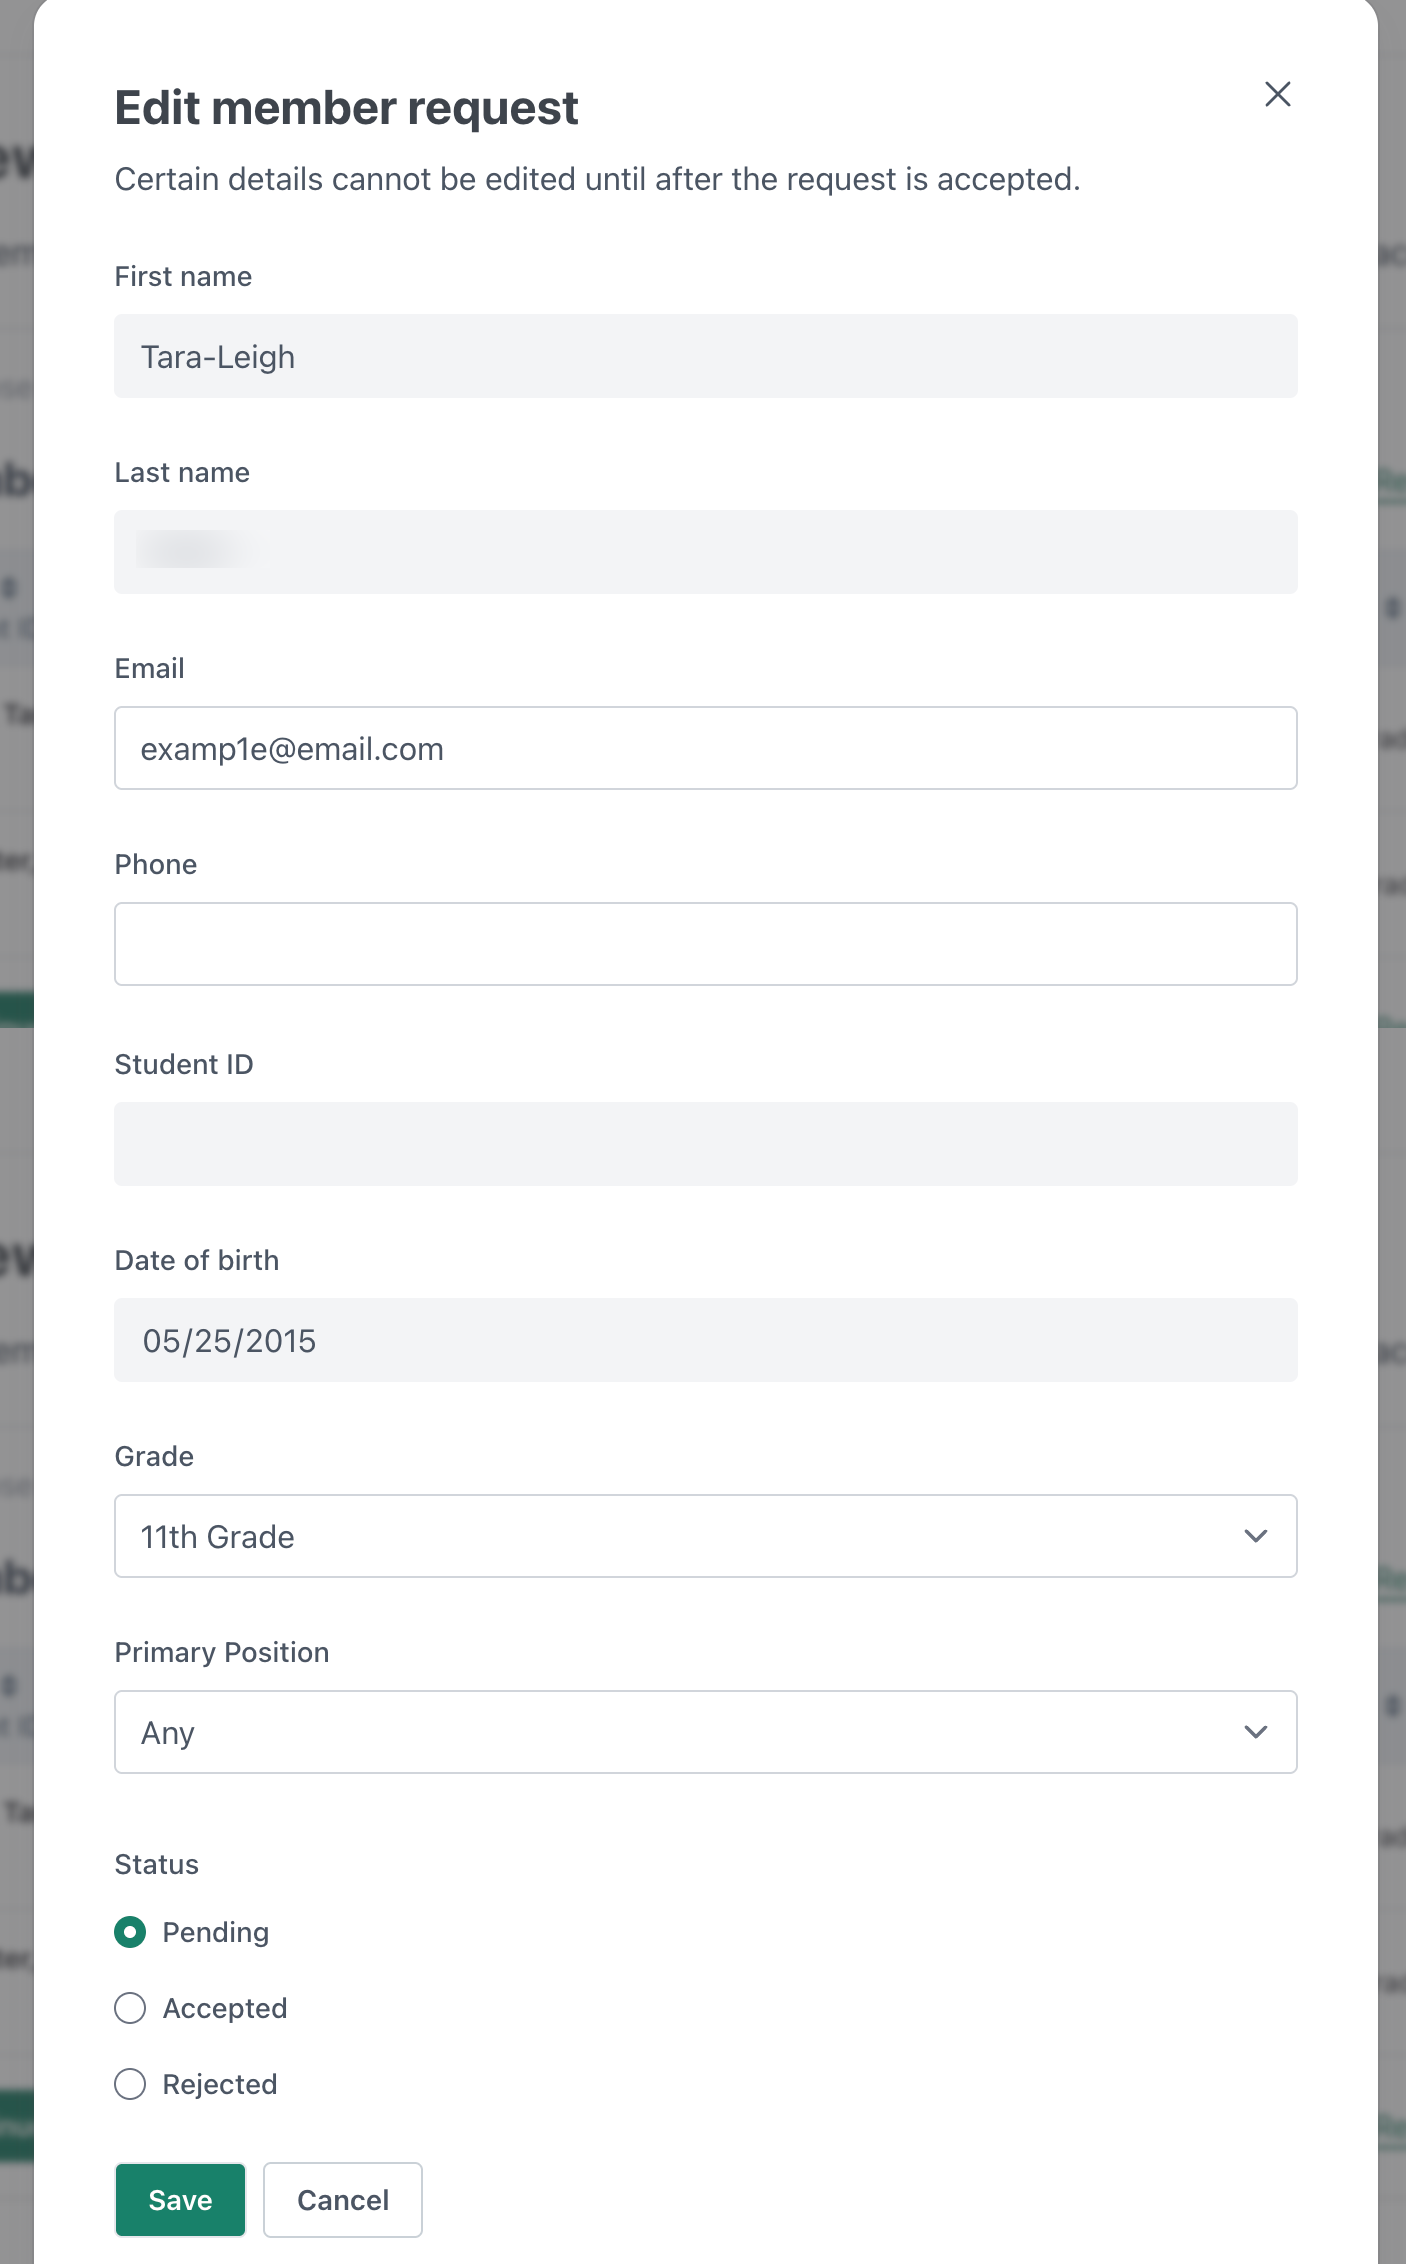
- Make any necessary edits to the information provided and mark them as Accepted, Pending, or Rejected.
- Once you are ready, click continue to see the guardians that were registered.
- Repeat the same process for guardians and click "Finish".
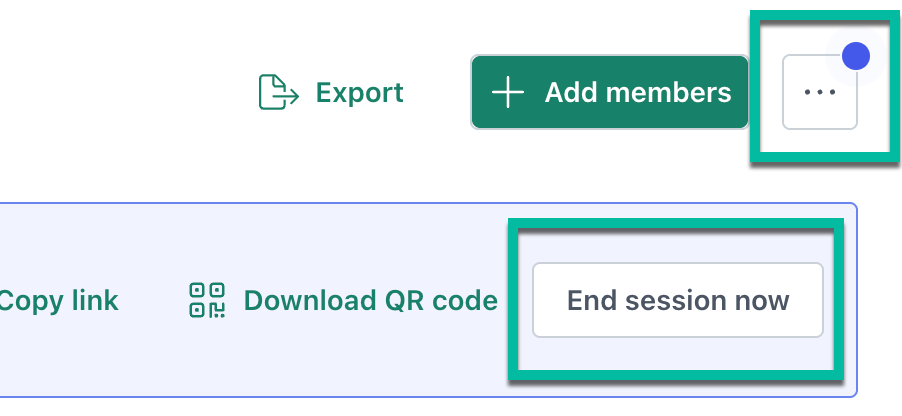
- Finally, either let the registration session end, or click the "End session now" button.


Final Steps: Add to Groups & Welcome Messages
You've successfully added your new members and guardians! Make sure that you add them to the appropriate Groups and send their welcome messages, and then you'll be good to get started.